If you want to install WordPress locally, download and install the program XAMPP. Then you download WordPress and create a database using XAMPP, so that you can install WordPress locally and link it to the database. View the extensive step-by-step plan in this blog article.
Why install WordPress locally?
Sometimes you want to adapt certain parts to your WordPress website and then it is more convenient to do that offline. You can then try different things, without anyone seeing anything of it, and visitors are therefore not bothered. Installing WordPress locally has its advantages. Why it is useful and how to install it can be read in this blog.
If you do not make these adjustments locally, there is a chance that something will go wrong and that visitors will no longer have access to your WordPress website, or that certain functionalities will no longer work. It is rather annoying for both the visitor and for you. It is therefore a godsend to install WordPress locally and to be able to test all updates, changes and settings to the website first.
How to install WordPress locally?
Time needed: 15 minutes
To install WordPress locally, a program is needed that acts as a server. It is not possible to run PHP files without a server. There are several programs available for this, for example LAMP, WAMP, MAMP and XAMPP (recommended).
We are going to explain the installation process using XAMPP, as this program is suitable for every operating system. XAMPP is therefore an application that makes it easier to run a web server locally and it stands for cross platform (X), Apache (A), MySQL (M), PHP (P) and Perl (P). Briefly explained: apache is an open source web server that is often used for hosting websites. MySQL is used for hosting databases and PHP is a programming language that is widely used, including for WordPress.
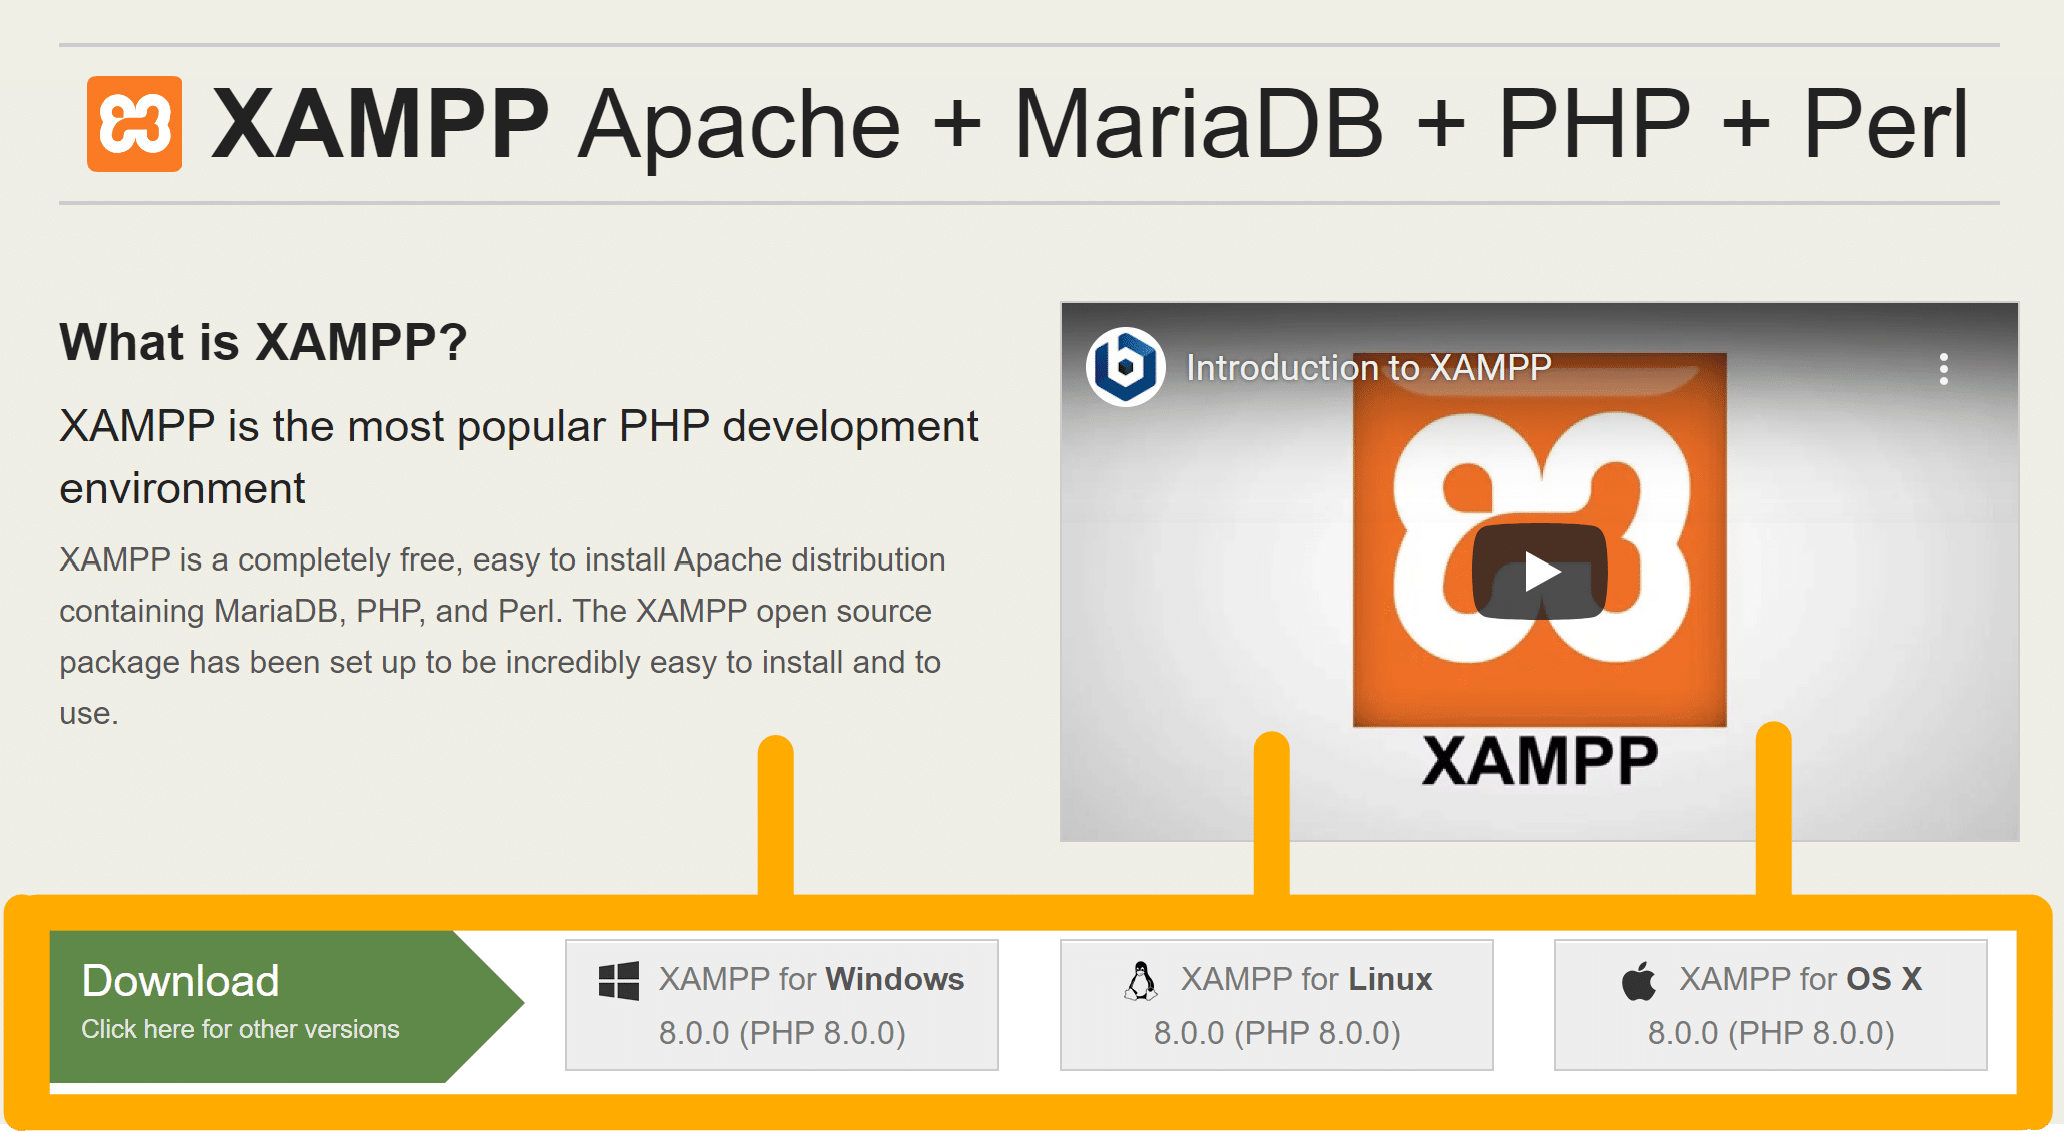
- Download XAMPP
From the official website of XAMPP you can download the program for free. Choose the right operating system and click on ‘download’. The file is about 150 MB so it will take a while before it is downloaded.

– Download capabilities XAMPP (Windows, Linux or MacOS) - Install XAMPP on the computer
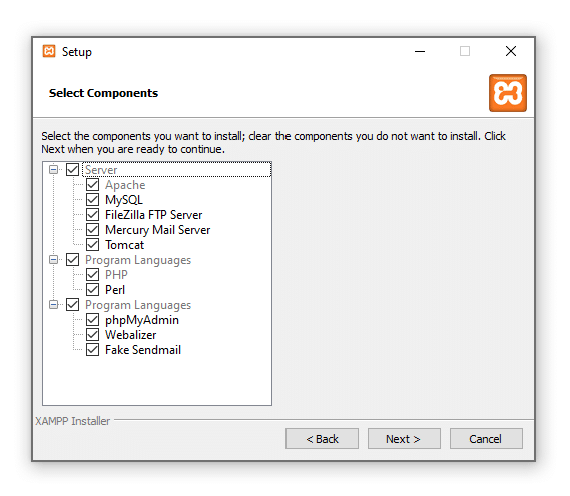
Unpack the software and select the ‘Install’ button. The installation process will begin. In the ‘select components’ window, highlight only ‘MySQL’ and ‘phpMyAdmin’. You do not need these other components, you are free to install more. You will then receive a welcome message, which means that the installation process is in progress.

– Select your components here.
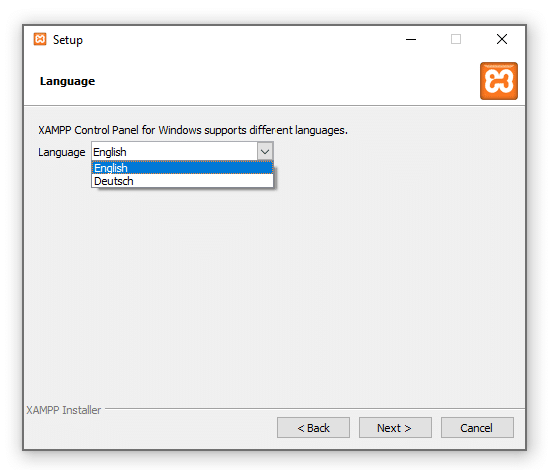
If you receive a security warning, this is safe. This can happen if an antivirus software is installed on the computer. So just continue by clicking on ‘Allow access’. You also get the option to choose a language, check the desired option there as well.
– Select the language you want to use.
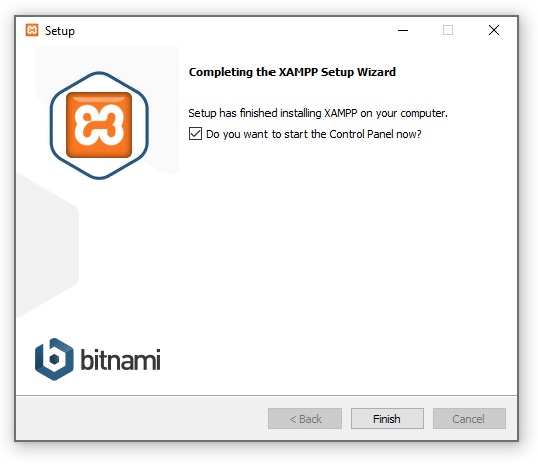
The installation is now almost complete. Highlight the option to start directly with the control panel and click on the ‘Finish’ button.
– The installation is complete. - Download the latest version of WordPress
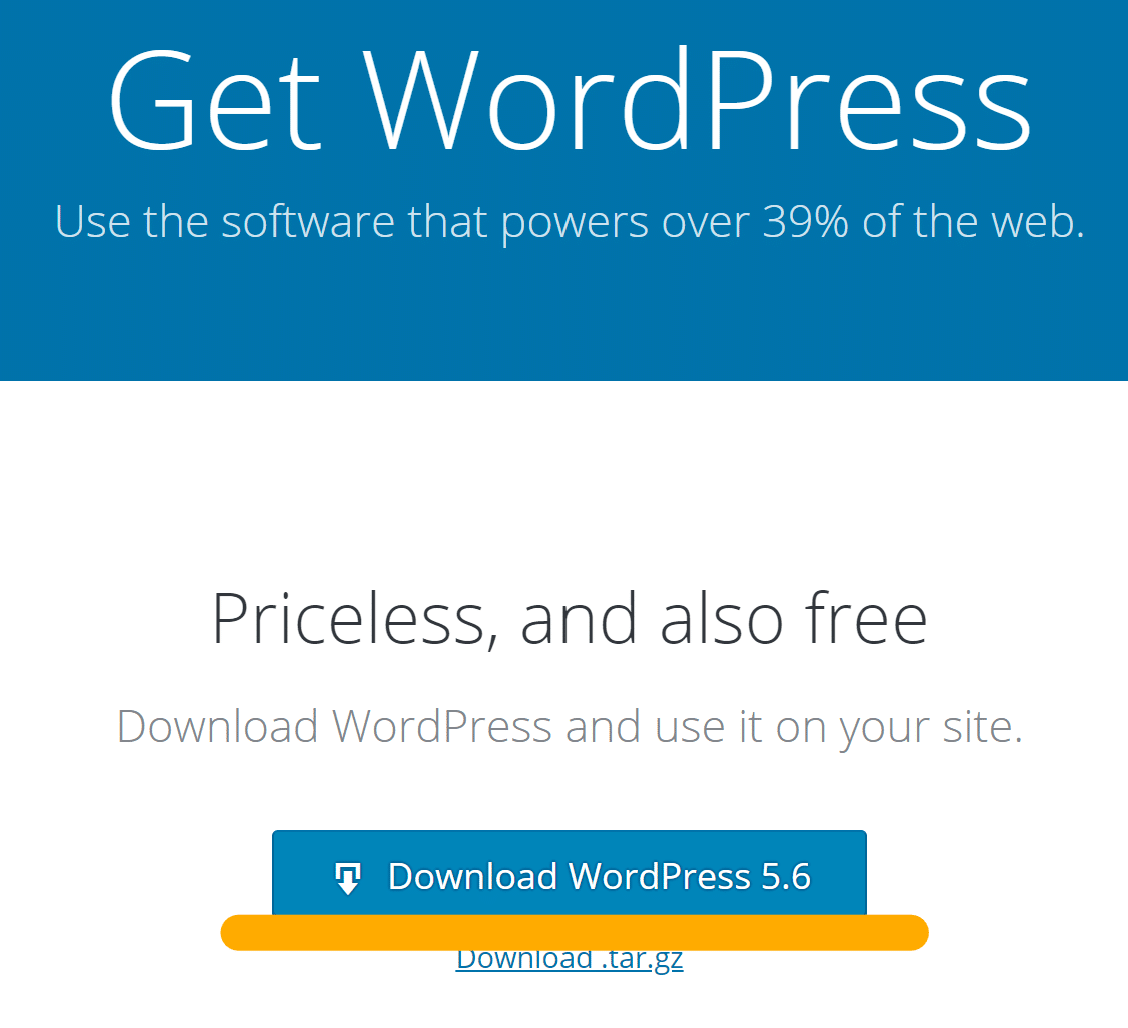
Download the latest version of WordPress to start installing WordPress on the localhost. Go to the official WordPress website, click on the ‘Get WordPress’ button at the top right and start the download process.

– By clicking on the ‘Download WordPress 5.6’ button, you start the download.
You will get a zip file of about 15 MB. Extract the file and copy it to a folder for the next time, if any. - Create a database
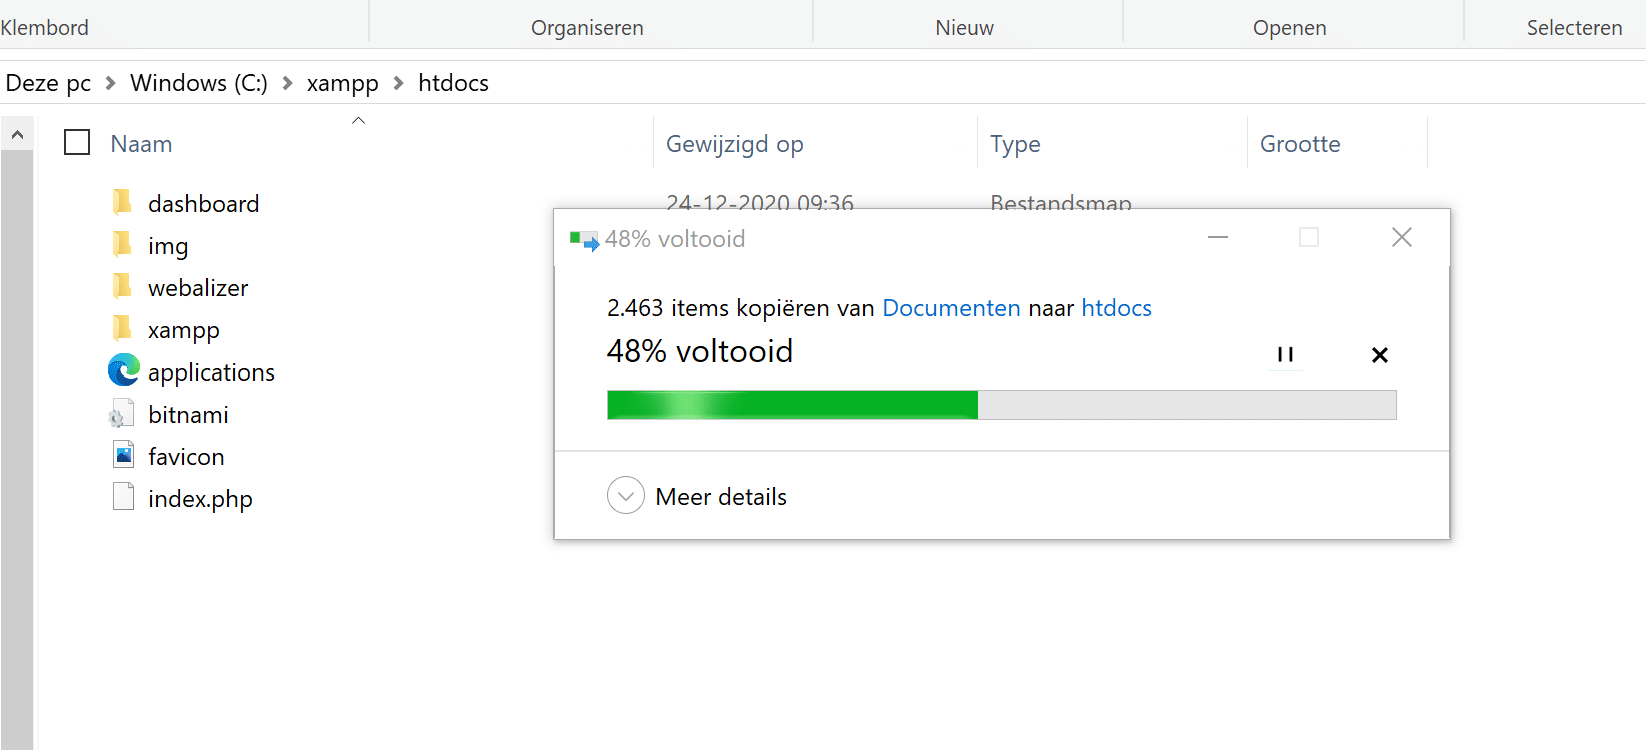
Go to the local disk where the XAMPP file is stored. Select the ‘htdocs‘ folder and paste in the latest version of WordPress (which you just downloaded).

– Place WordPress in htdocs.
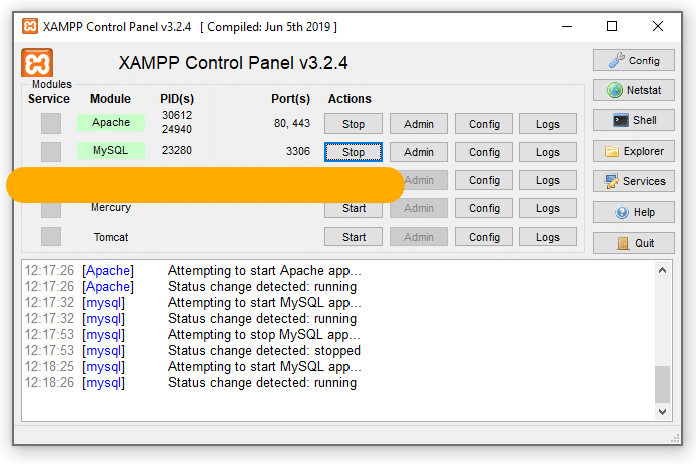
Rename the WordPress folder, for example to ‘test’. Remember this name. Now start the modules ‘Apache’ and ‘MySQL’ in the ‘Control Panel’.
– In the control panel you can turn localhost on and off.
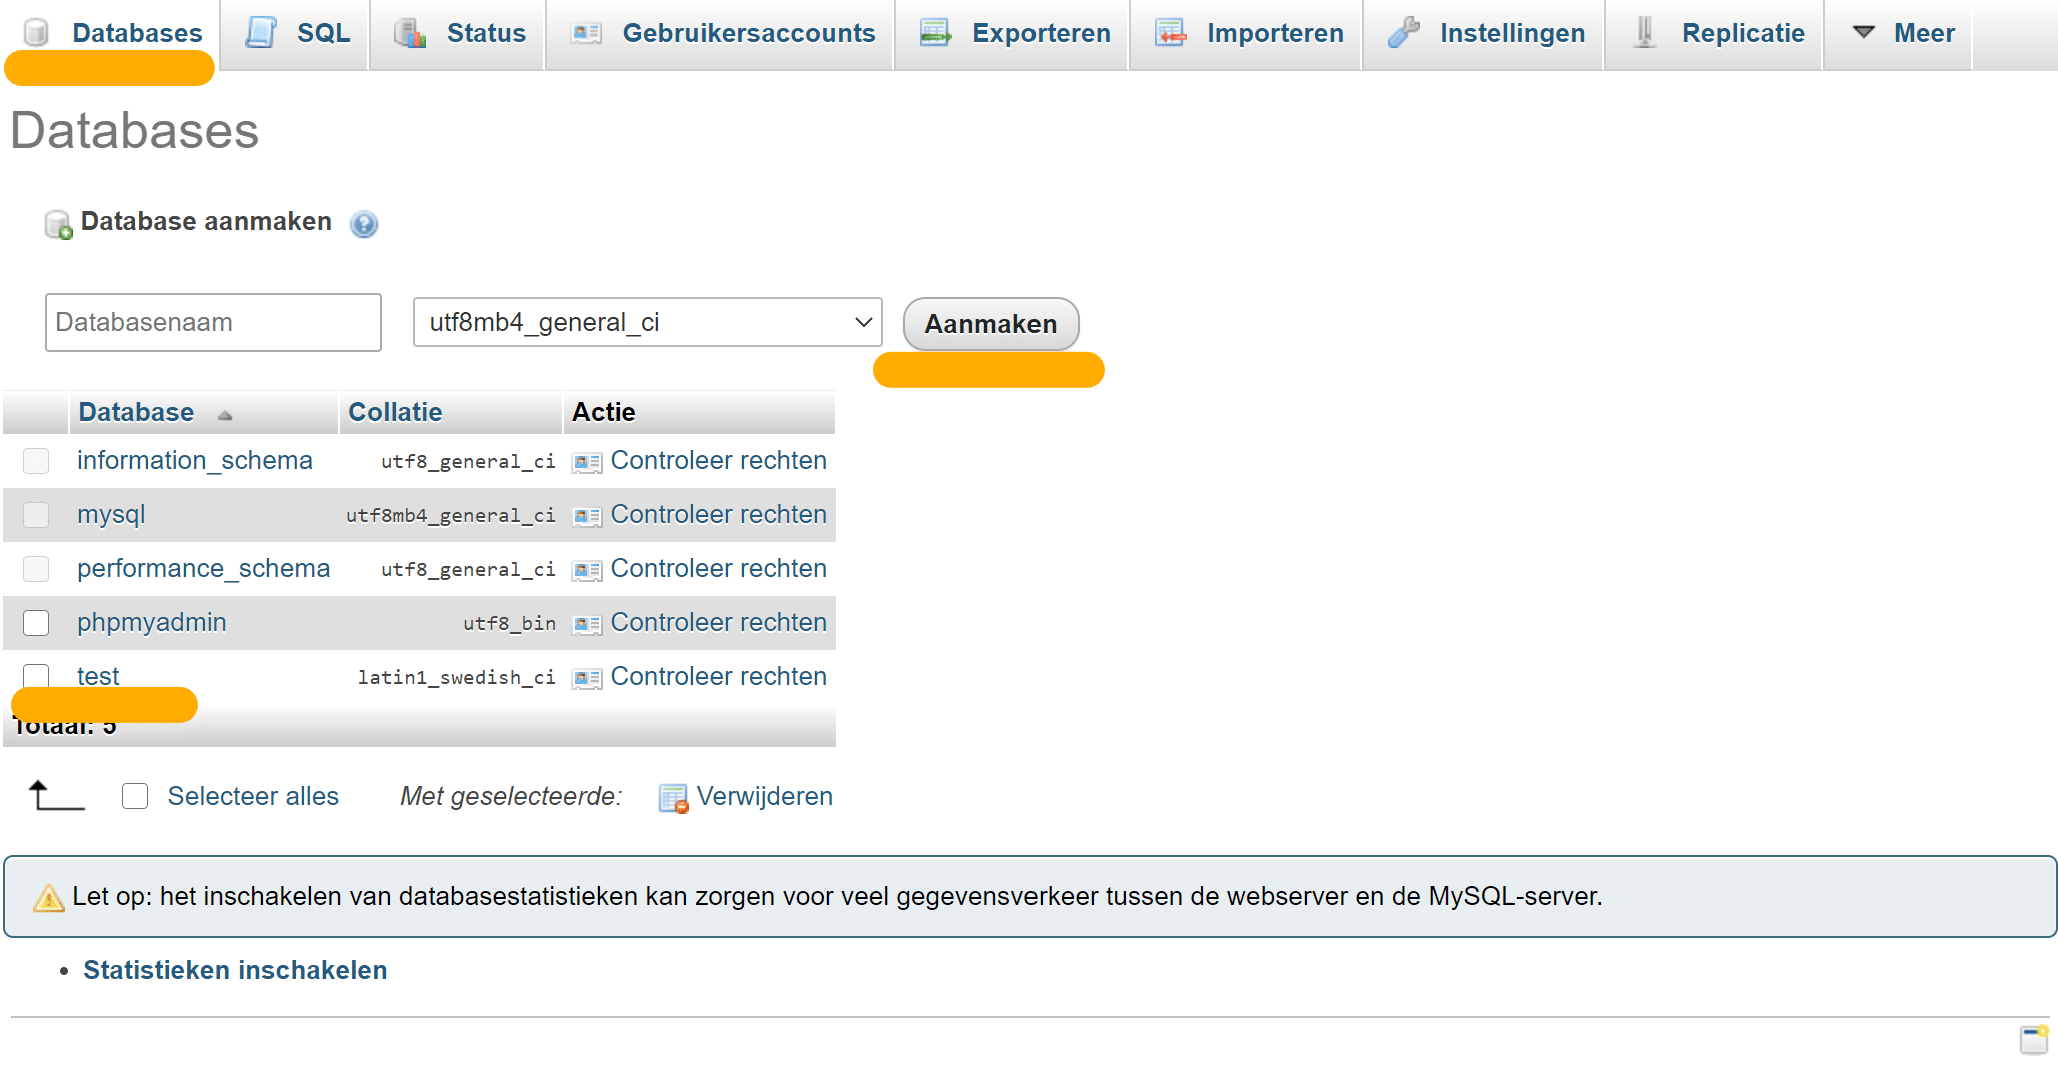
Open a new tab in the browser and go to ‘localhost/phpmyadmin’. Select the database, enter the newly modified name and click on the ‘Create’ button.
– Creating the local WordPress Database. - Install WordPress on localhost
Launch ‘Apache Web Server’ and ‘MySQL Database’ from the XAMPP control panel. Without starting it, you will not be able to access ‘PHPMyAdmin’.
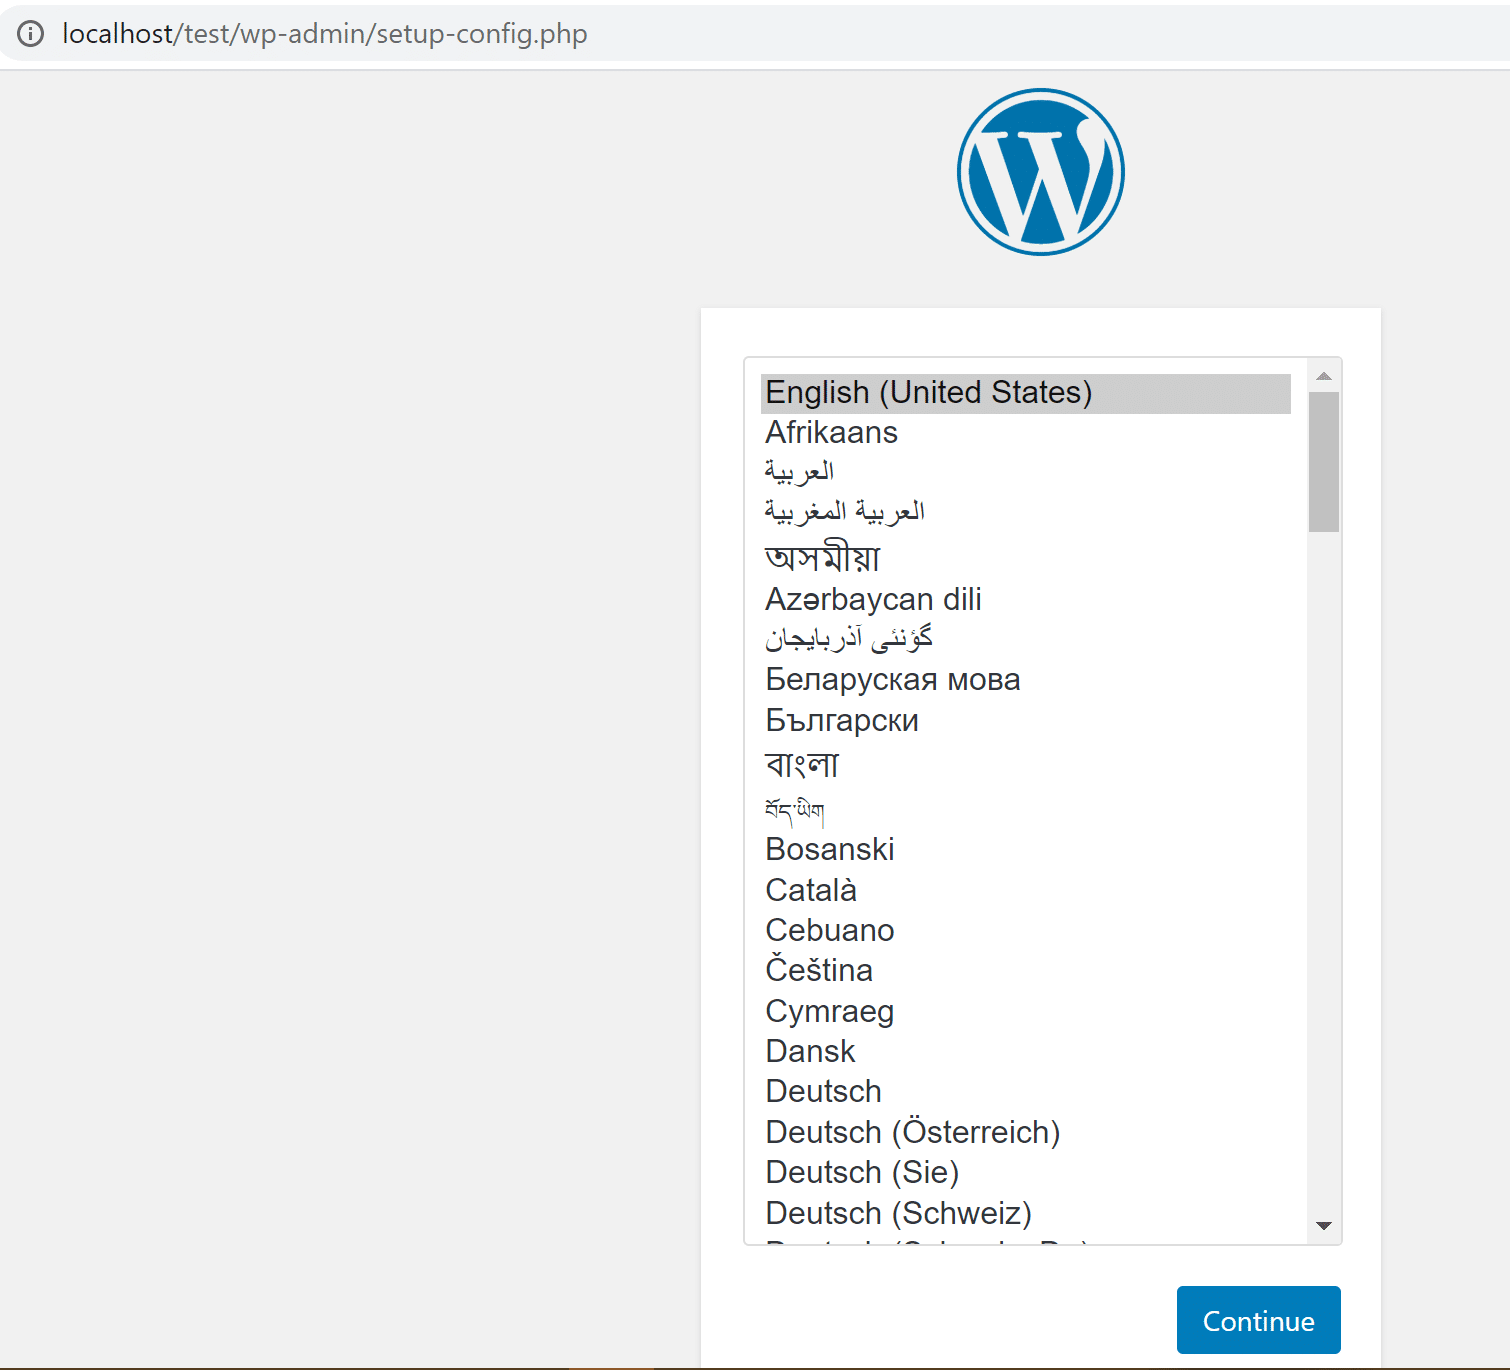
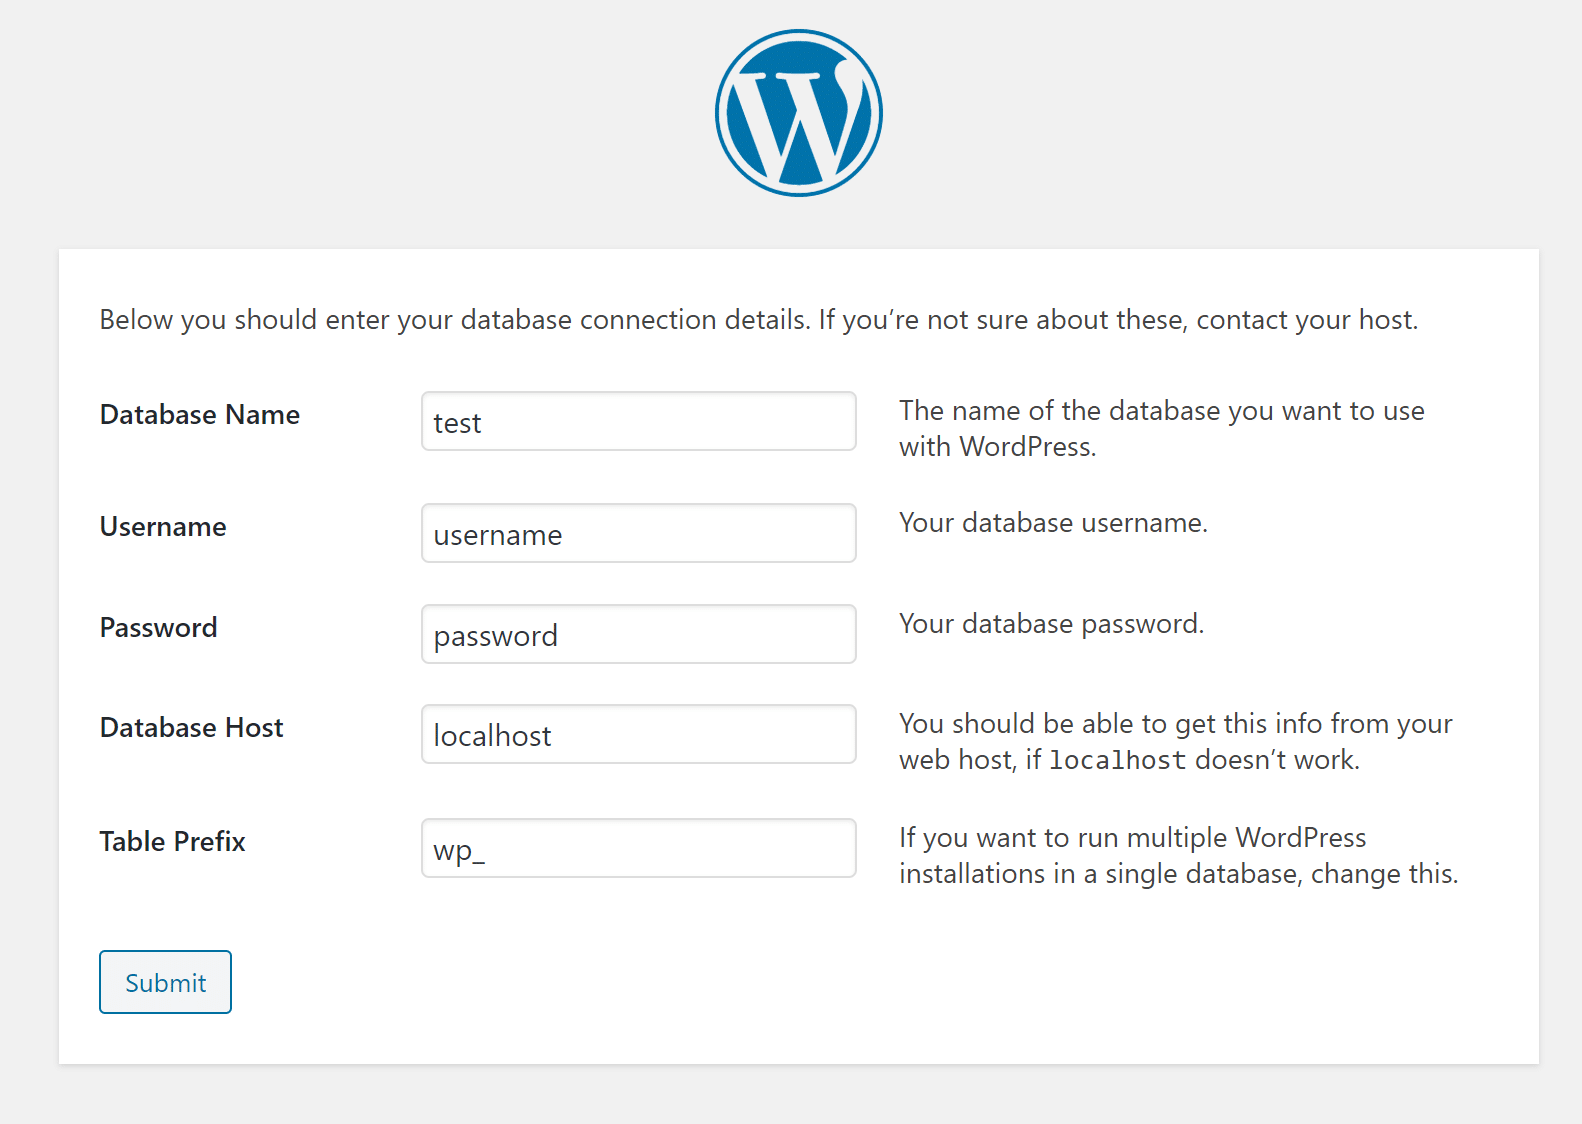
Then open a new tab in the browser and fill in ‘localhost/test’ (test represents the chosen name of the folder. If you have chosen a different name yourself, you must enter your chosen name). Select a language, and fill in the following information: database name, database username, database password and database host.
– Set up WordPress to use locally.
The final step is to enter a WordPress name, username, a strong password, email address and turn off the ‘Search Engine Visibility’ option.
– Database WordPress retrieval.
If you do not know what the details of your database are, you can contact your own hosting party. Are you a customer with us? Then you can also contact us directly.
How to use XAMPP localhost?
Now that you have installed WordPress locally, you can get started right away! Just make sure that the server is always running if you want to work on WordPress locally. You can always check this by going to ‘localhost’. If you don’t see anything, the server is most likely not on. Adjust this. When you have finished the adjustments of your WordPress website, you can disable it again.
Contact us
We wish you success with the offline (re)building of your WordPress website! Need help? Please contact our WordPress specialists. Start a live chat or call us on 030 20 72 488. We’d love to hear from you! Do you want to outsource the maintenance of your website? Take a look at our WordPress maintenance packages here.
Check out our other interesting guides: